What do you need to create a website using R?
- A Github account – with a .edu address you can get a free student developer pack
- R and Rstudio
That’s it!
Getting Started
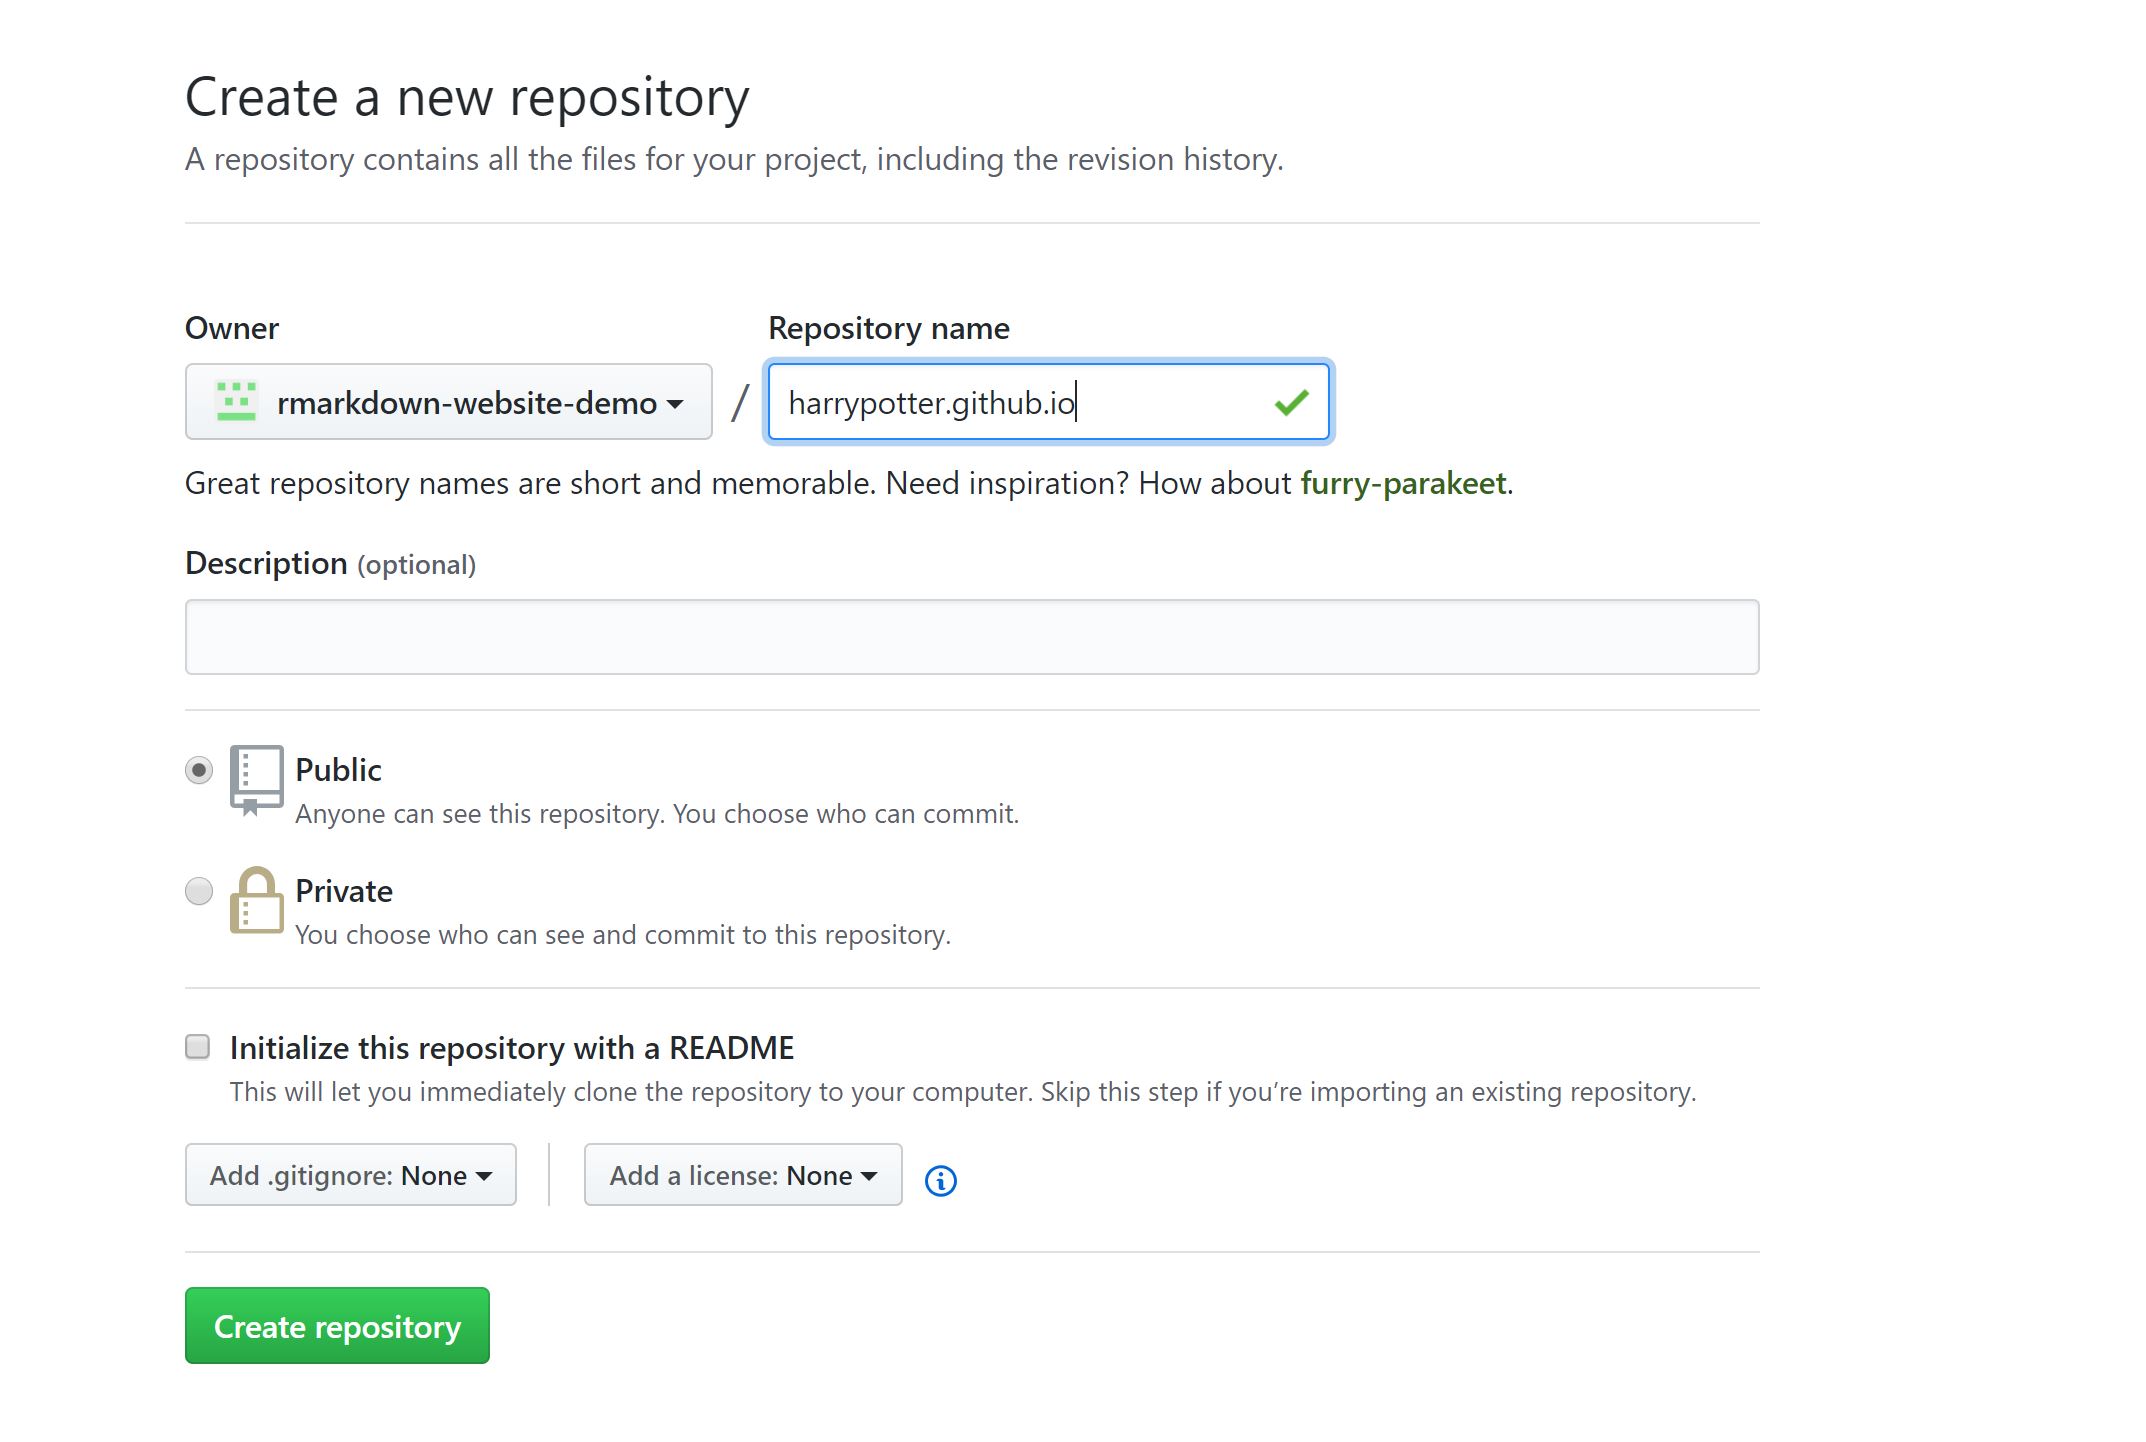
The first thing you need to do is create a new repository in your github account. Once you are in your account click on the link that says “new.”
Name your new repository yourgithubusername.github.io. I’m going to create a website for Harry Potter, who’s github username is harrypotter so I named my website harrypotter.github.io. If you are just setting up your github account, now is a great time to think about what your username is going to be, since it will also be the url of your website. It’s possible to create a github website with a url different than yourusername.github.io, but I am not going to cover that here.
This will be your website’s address!
Once you have named your website, click “Create repository”. A new screen will pop up, Copy the link using the button to the right of the address:
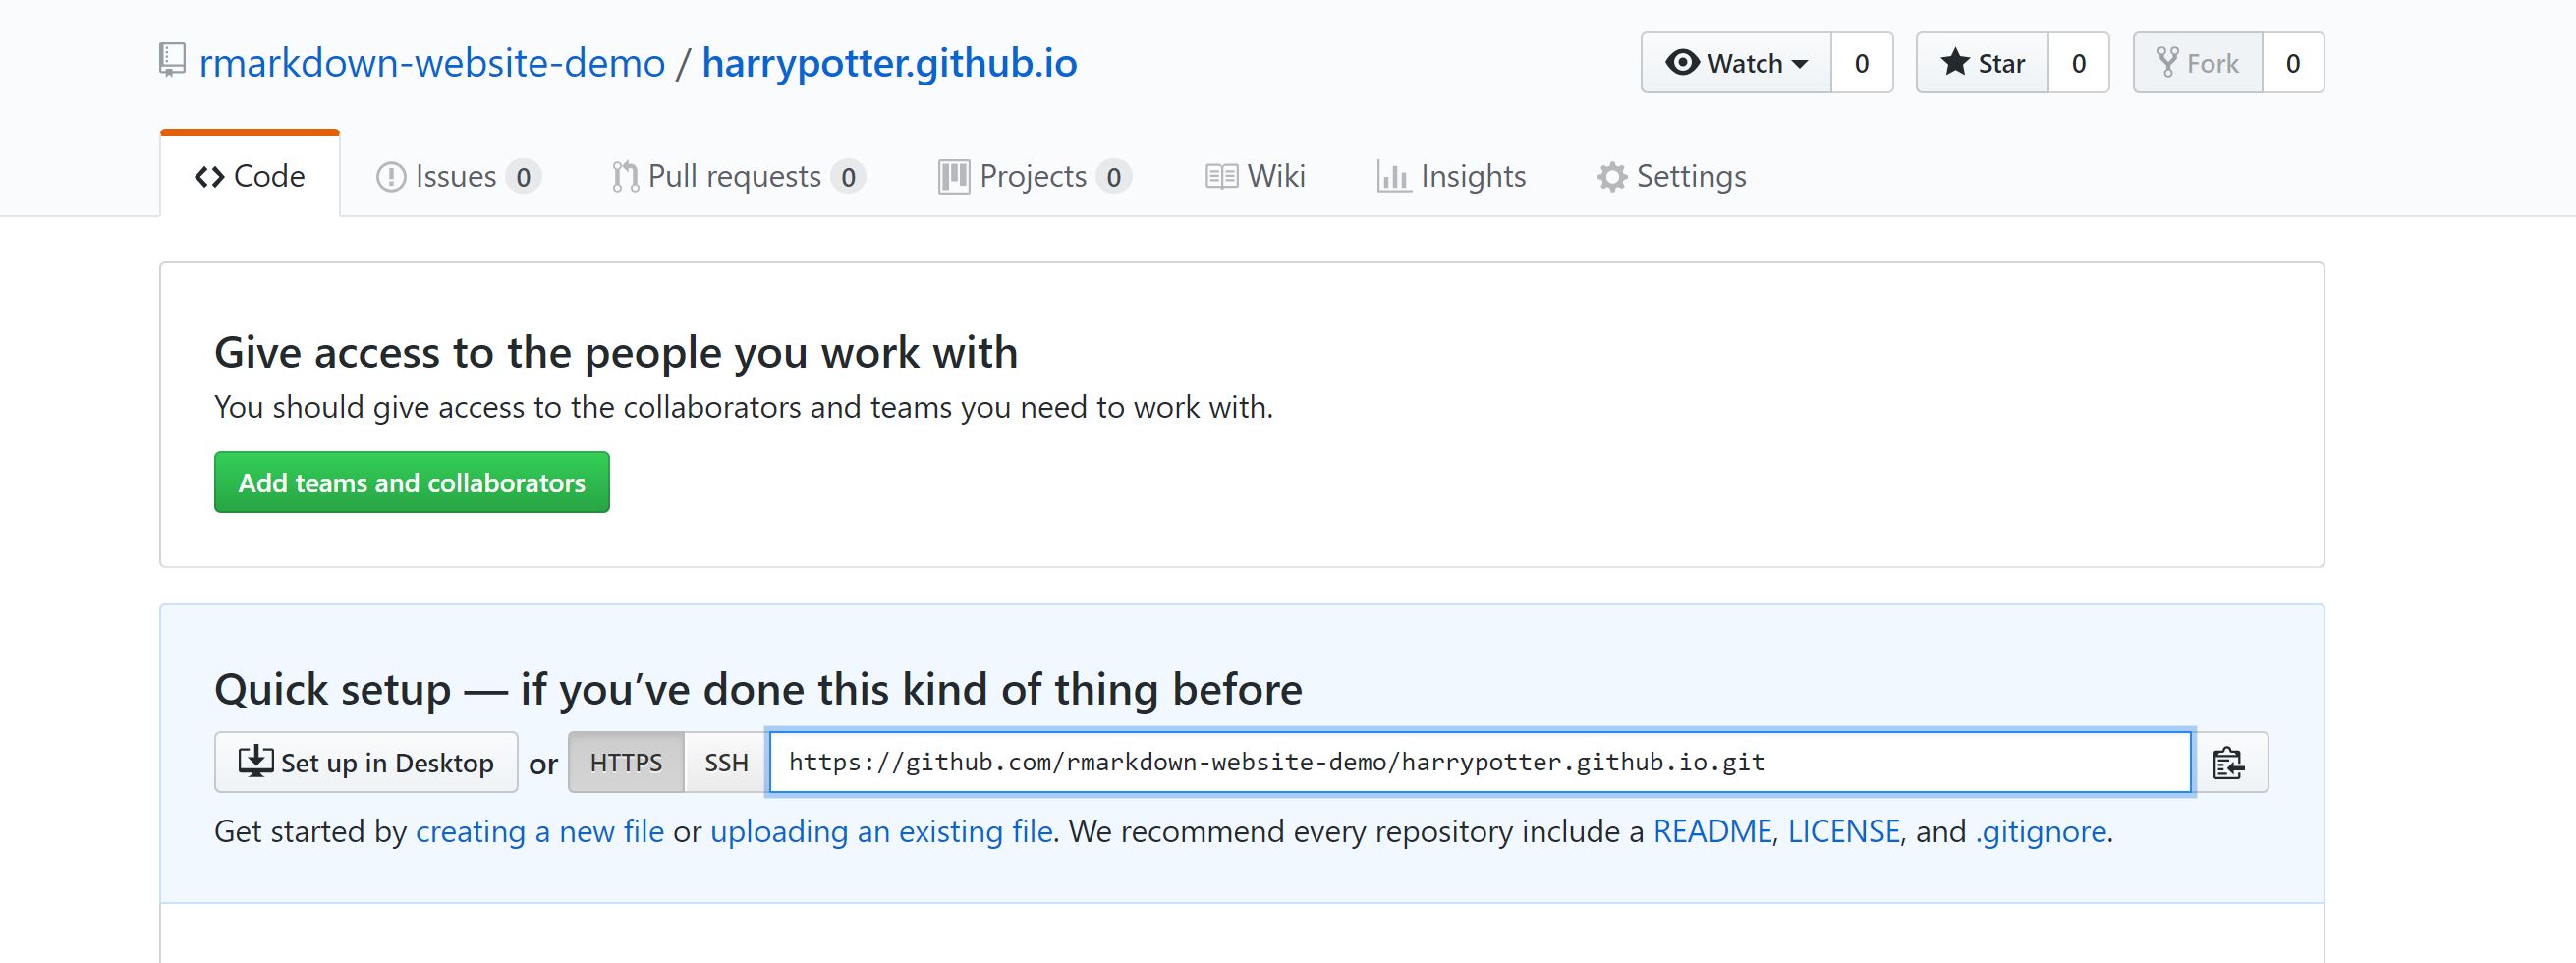
Next, open RStudio and create a new project (File -> New Project). Choose “Version Control”, then “Git”, and then copy the link into the space that say “Repository URL”. Next, hit tab. That will copy the name of your website into the “Project Directory Name” line, which is important for continuity.
I like to create a new folder to keep each new project in. This helps keep me organized, and makes sure that all my files for a single project (data, R Scripts, figures, etc.) are all in the same place. Click “browse” and create a new folder where ever you keep your R projects (could be on your desktop) and name is something like “My_website”.
Click “Create”. A new blank project should open in RStudio. Congratulations! You are half way to a website!
Building the bones of the website
There are a few essential pieces each RMarkown website needs:
-
A
_site.yml: This is the road map of your website. It is how you stitch all the separate pages together, and contains some of the site design. -
.RmdThese are the “pages” of your website, each of them will be a Rmarkdown files (.rmd) -
A home page named
index.rmd. This step is important–Github is going to be looking for a file called_site.ymlandindex.rmdto build your website. This page is considered your “Home Page.”
Let’s build it!
-
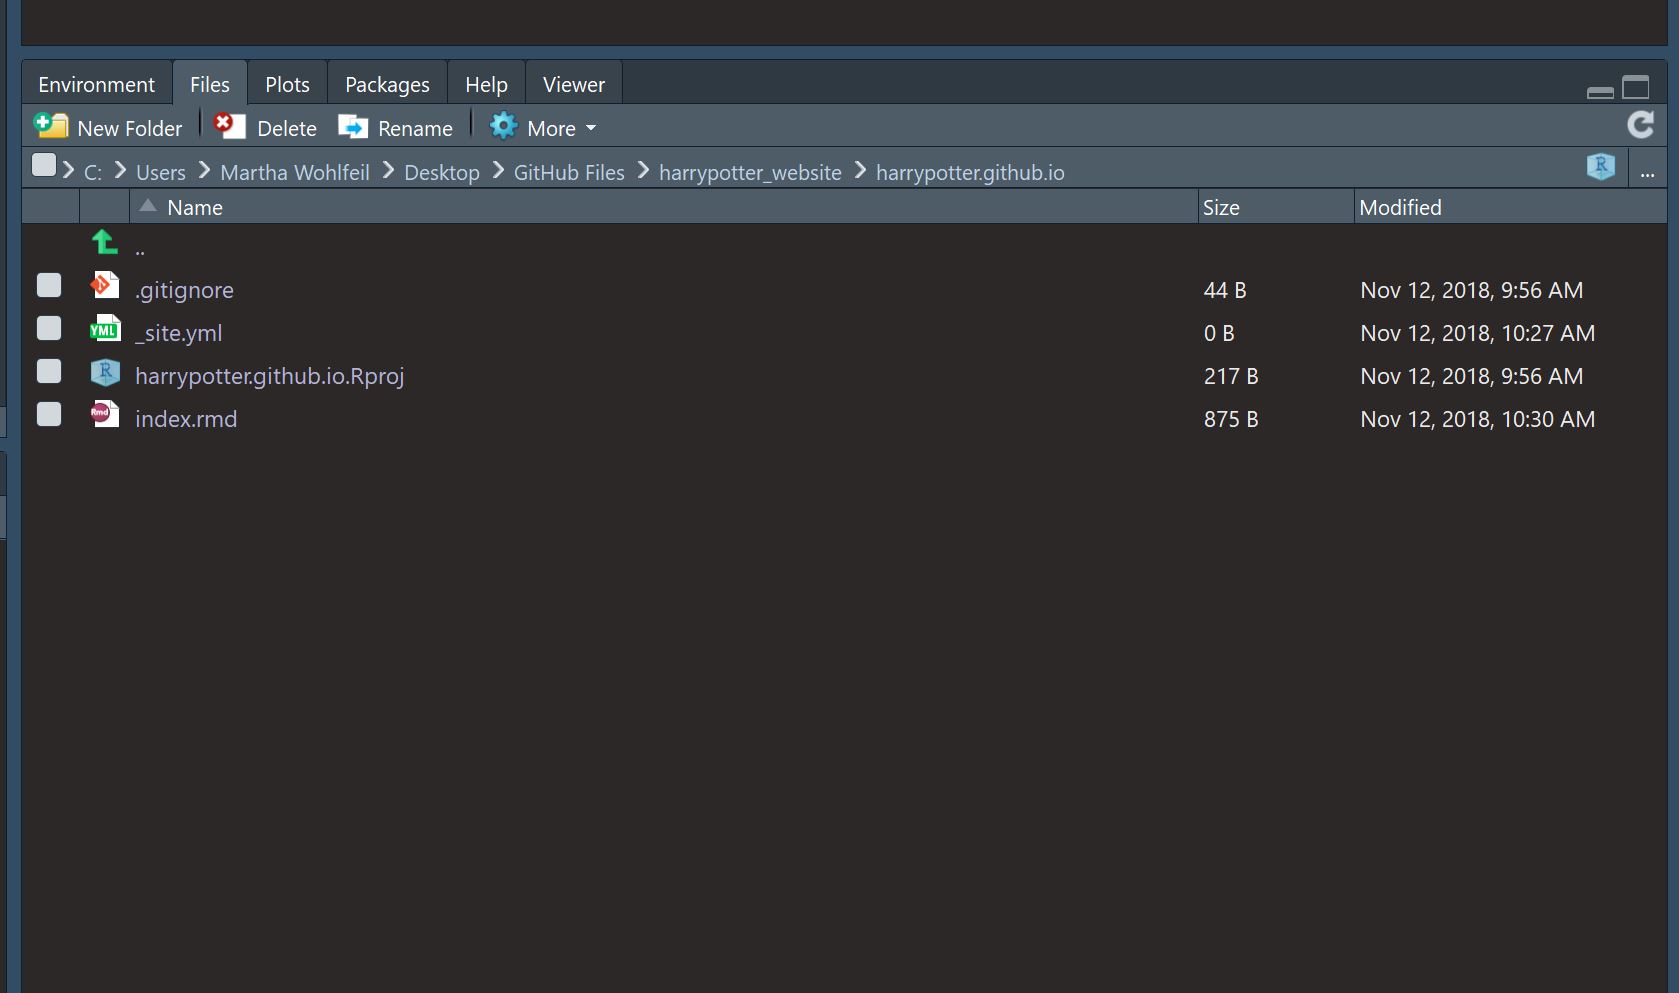
Go to your website project in RStudio and create a new R script. Save this script, and name it
_site.yml. R will throw up a warning telling you it will no longer be a R Script but that’s exactly what we want. -
Next, create a new Rmarkdown file. Save this as
index.rmd
If you click on the “files” tab, you should now see something like this:
Creating your YML
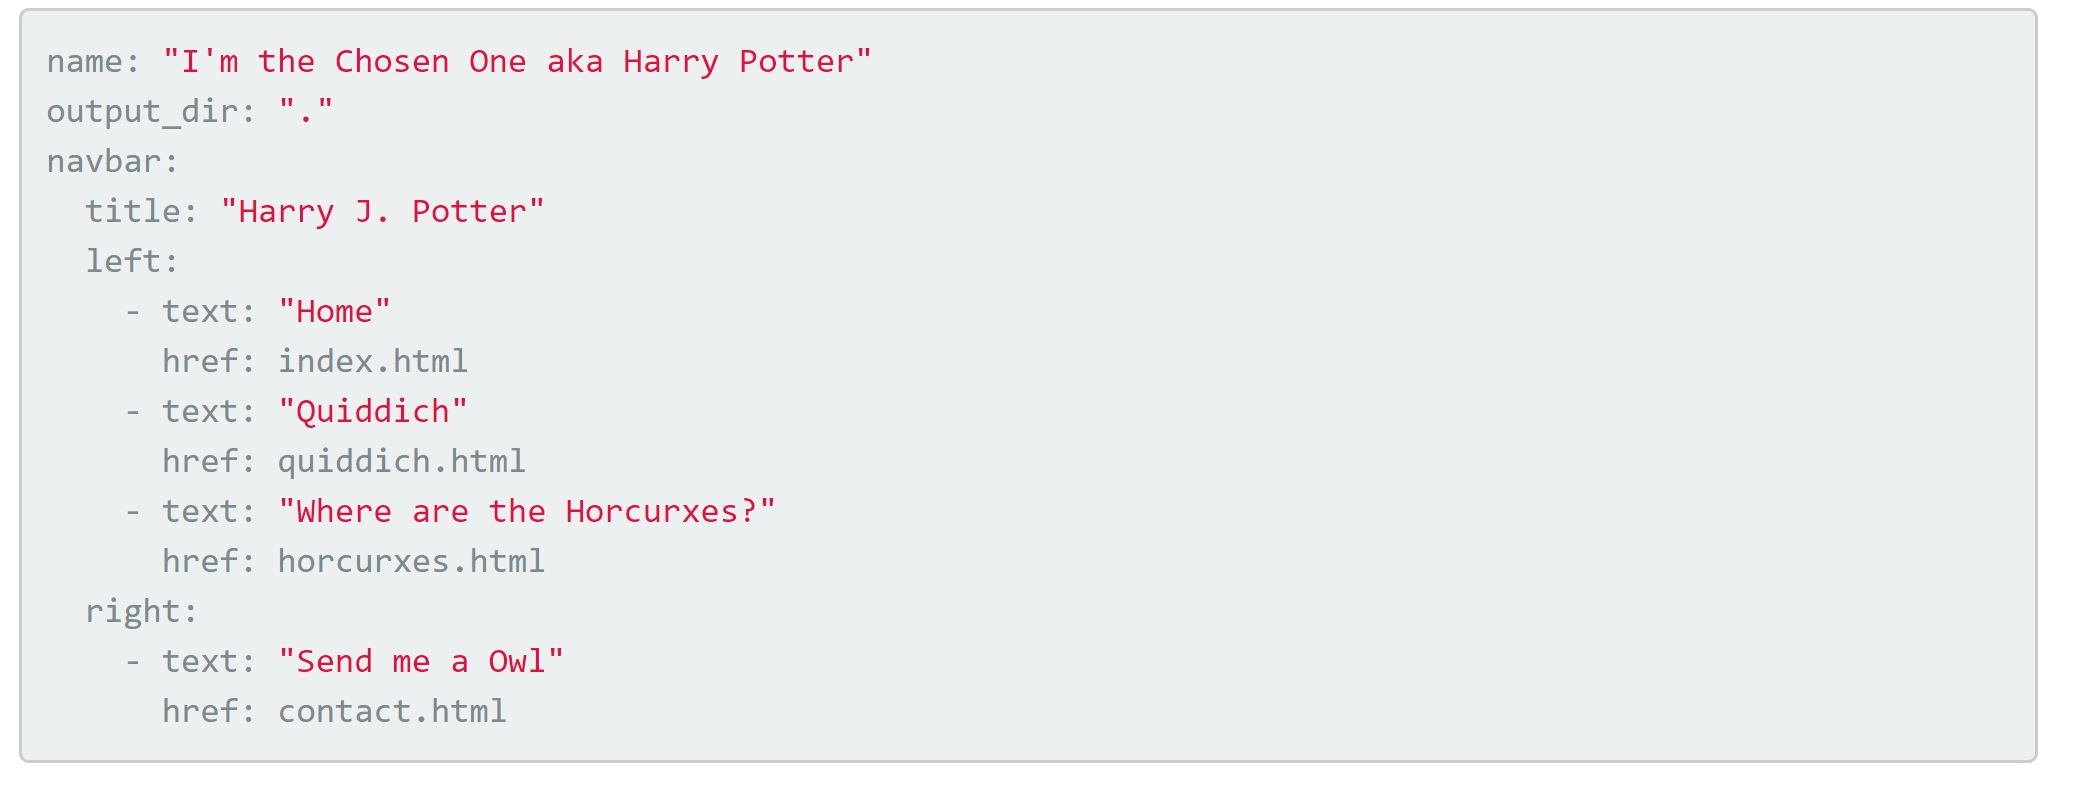
The YML is going to be the bones of your website. There are many different ways you can format your .yml, and I’m going to give a very simple example.
Basically, every page needs a name, and then is connected to a .html document. This .html document will automatically be created when you “knit” (more about that later). The “right” and “left” indicate which side of the navigation bar that link will be.
Here’s what Harry’s .yml looks like:
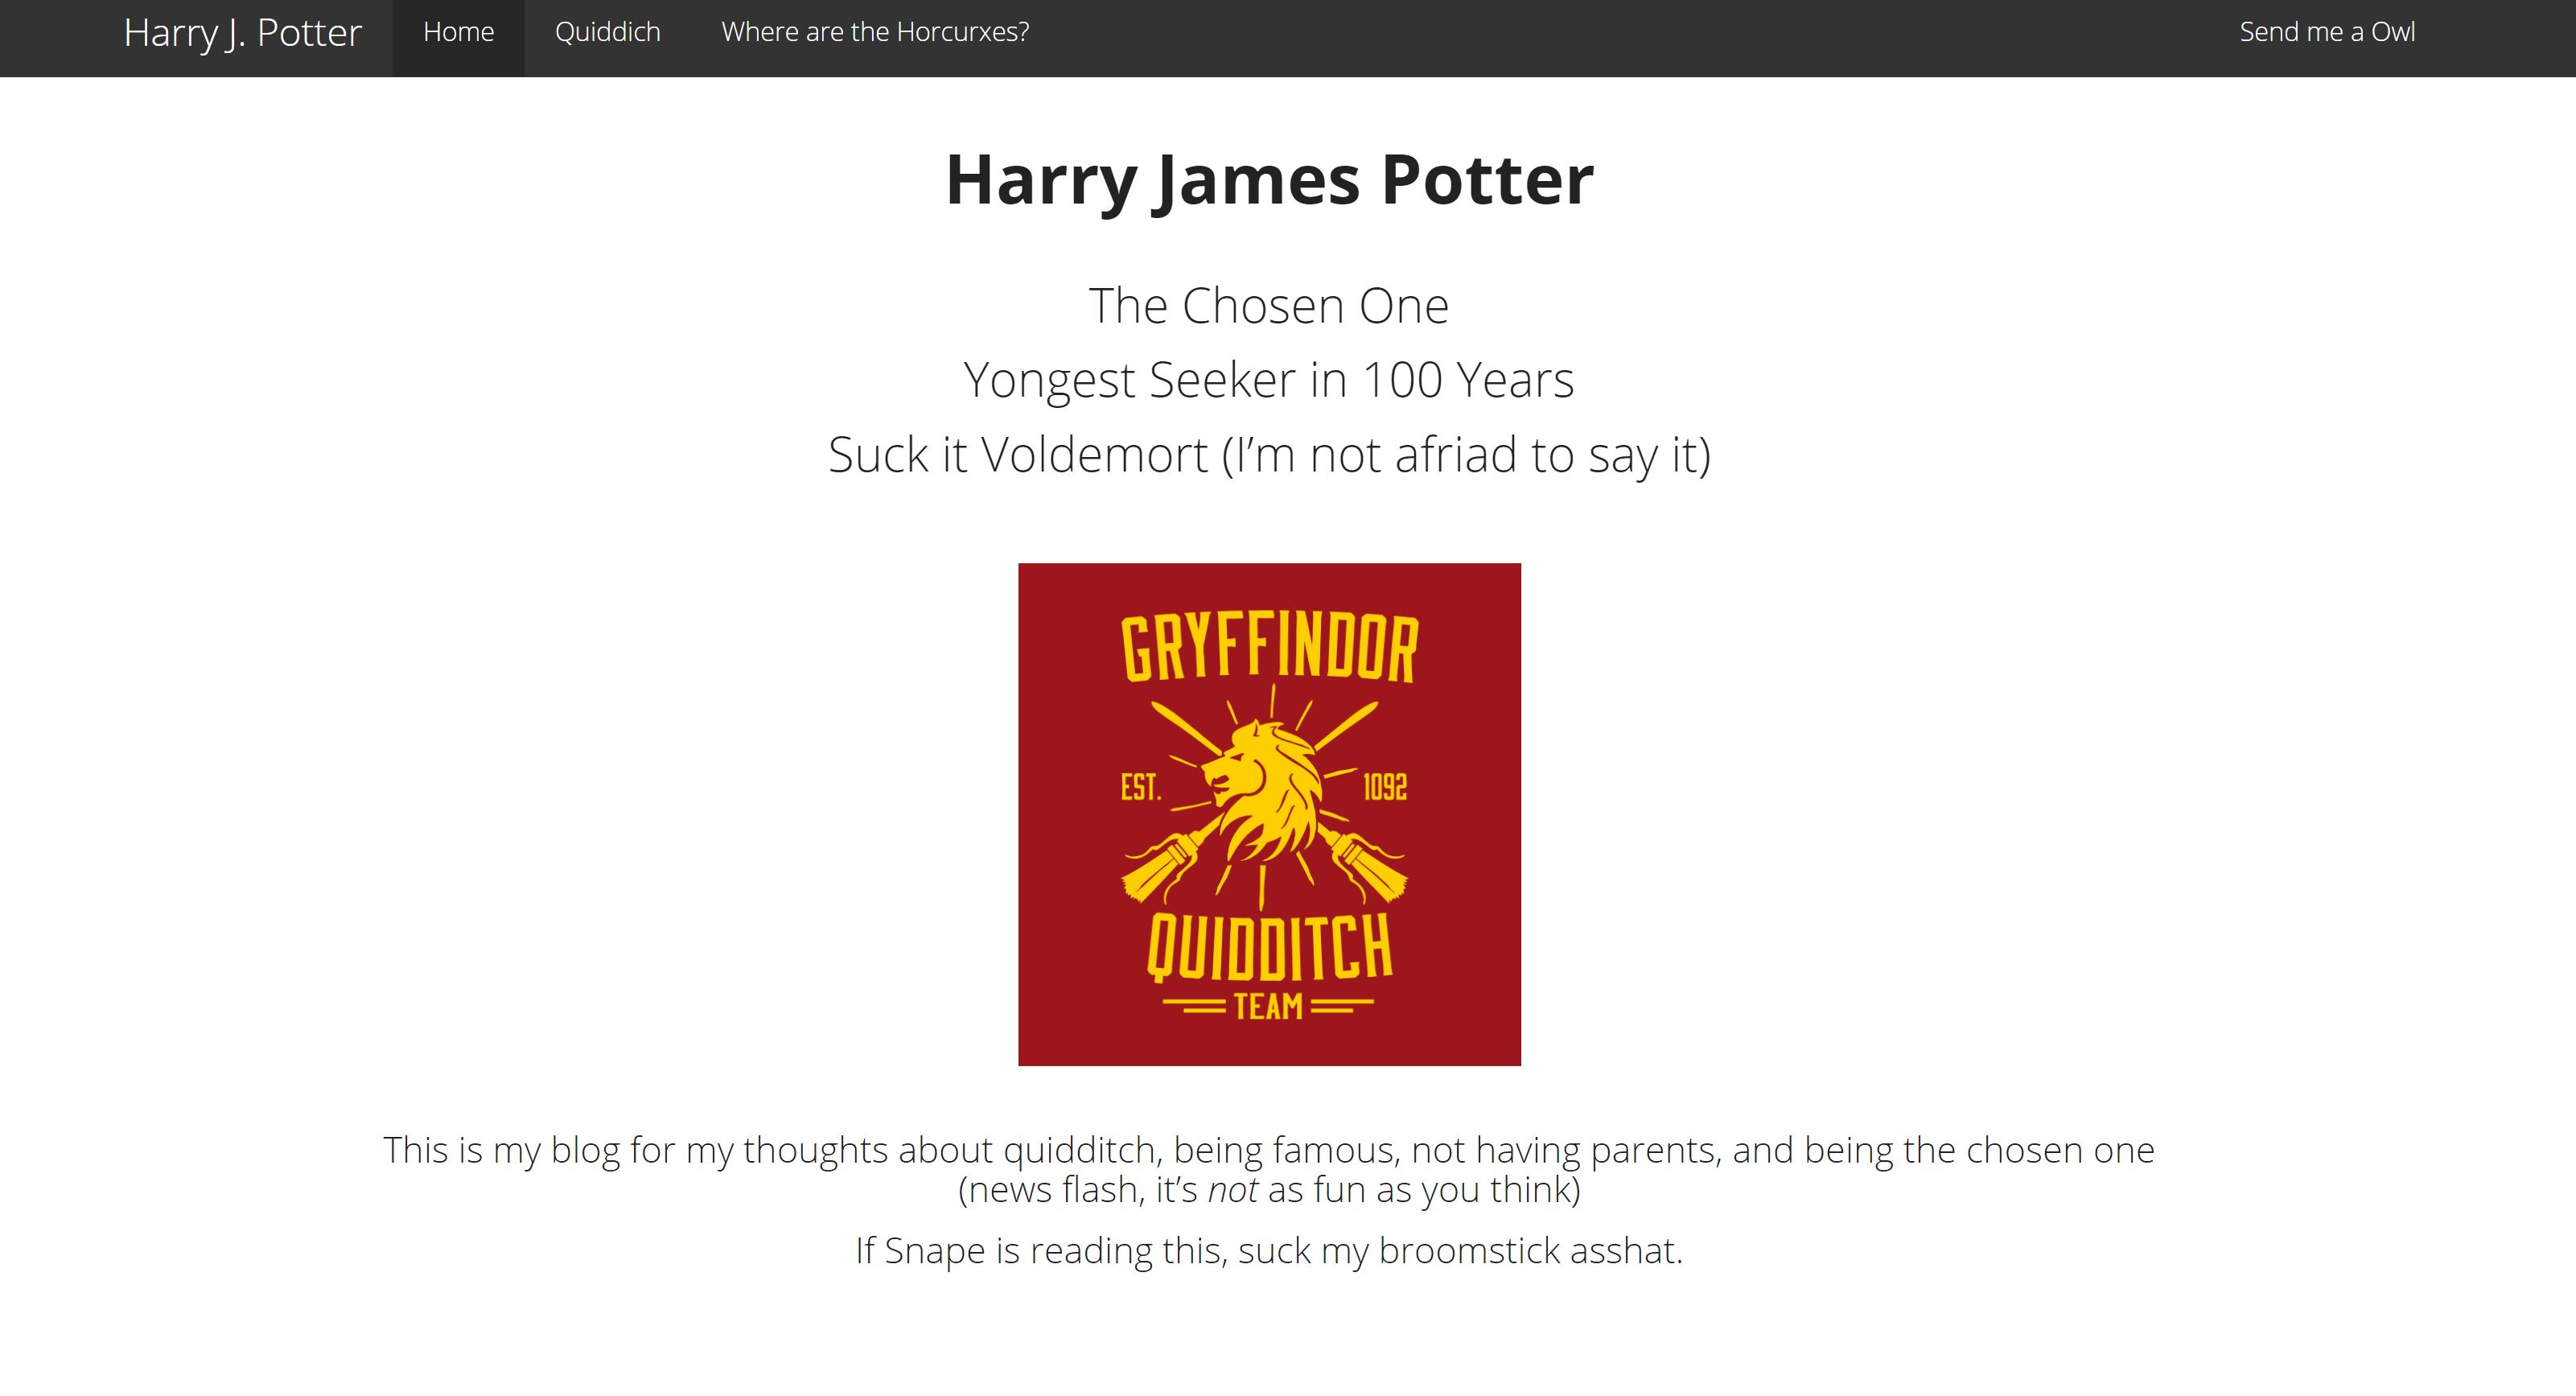
Here is what Harry’s navigation bar is going to look like from this .yml:

Populate Your Website
Now that your .yml is set up, you can create the other .Rmd pages. Simply create a new .Rmd document, and save it with exactly the same name as it is listed in the “href” part of your .yml. For example, Harry’s “Quiddich”” page is saved as “quiddich.rmd” and his “Where are the Horcruxes?” page is saved as “horcurxes.rmd”
Add content
Add content to each page of your website! Here is the example code for the Home page of Harry’s site:
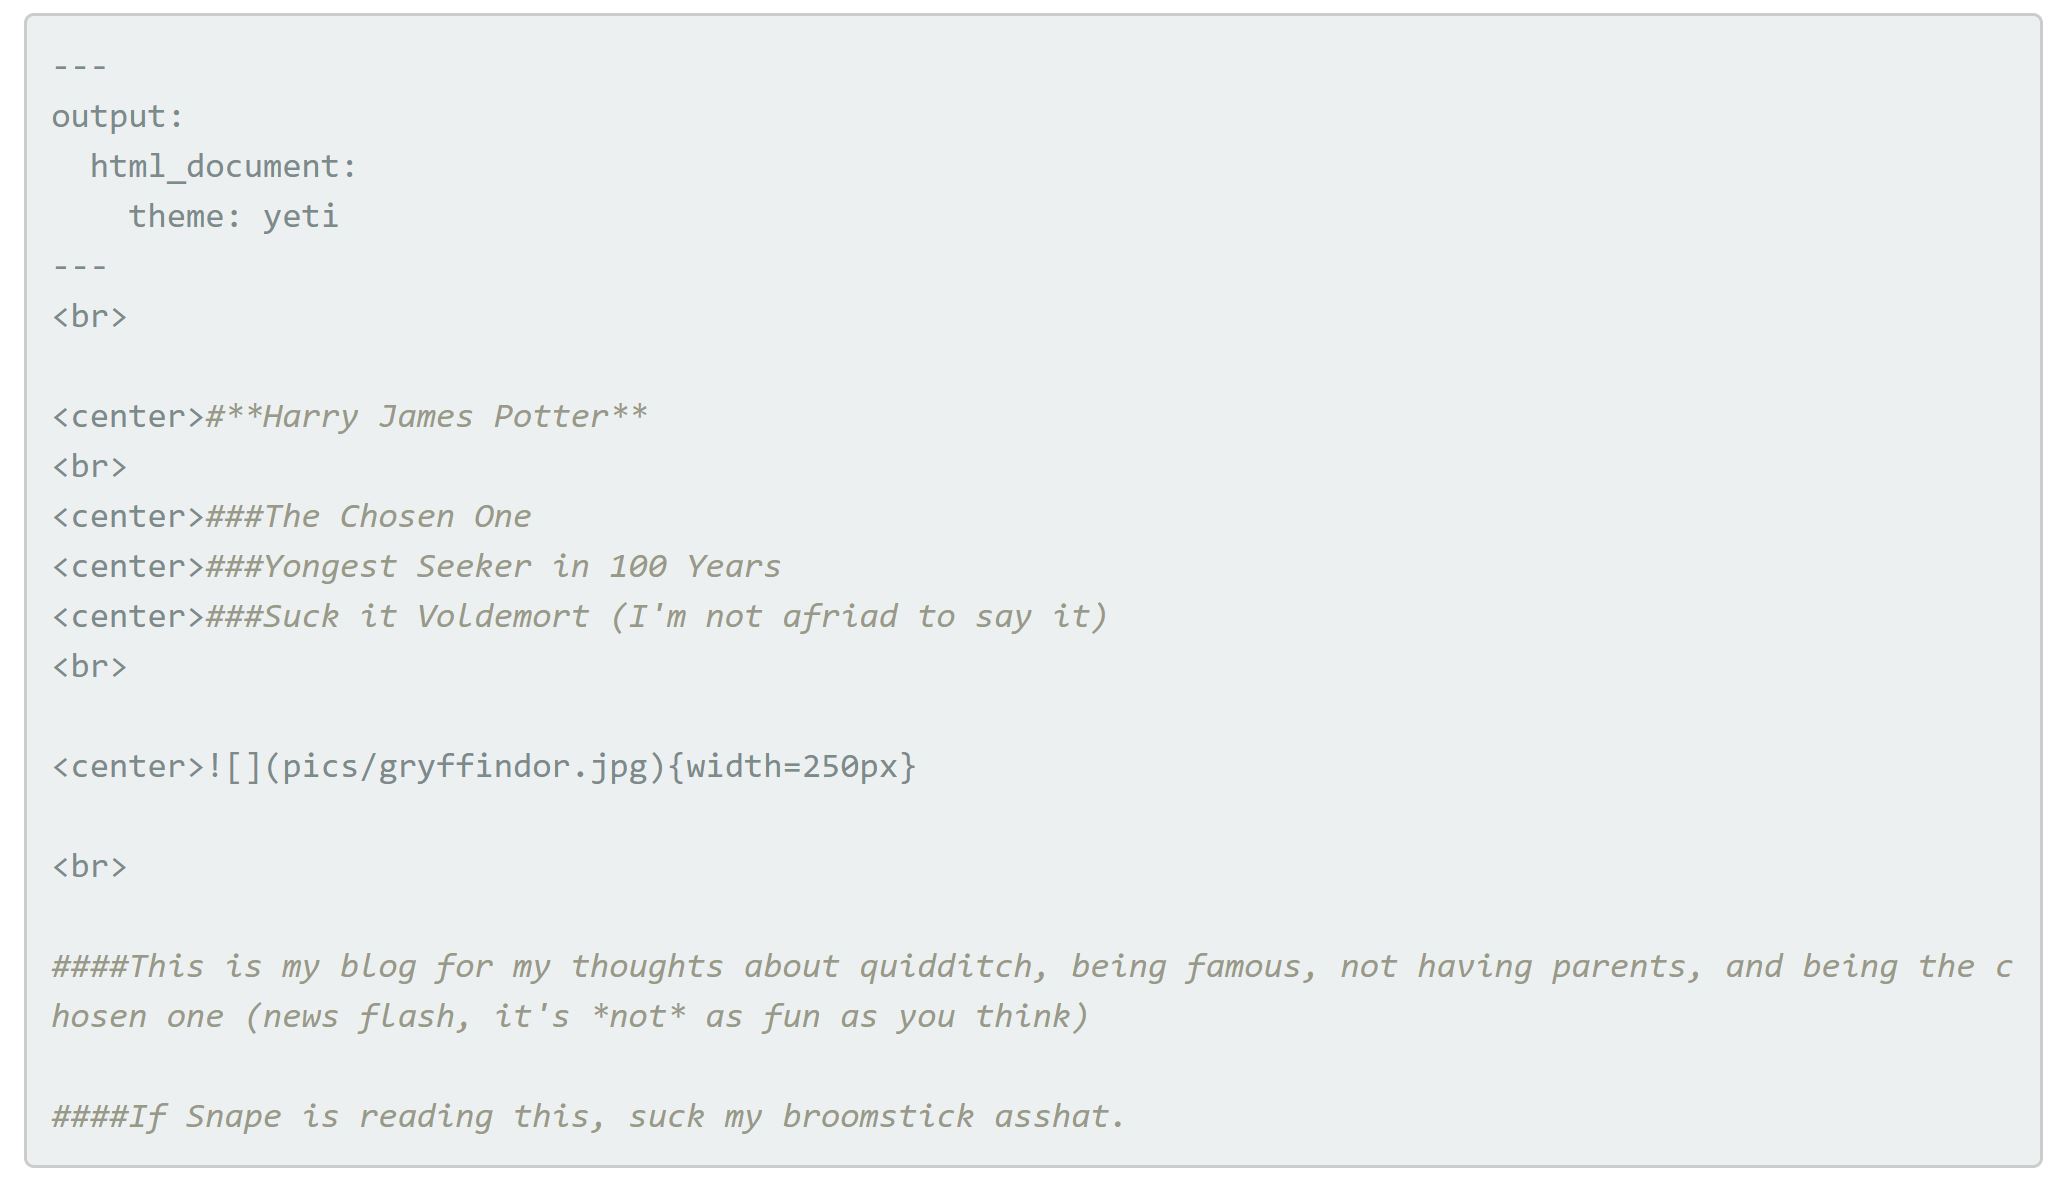
Notice the header, defined by three slashes on top of the document. You will need a header on the top of each .Rmd page.
Here is what Harry’s Home page will look like once the site is live. To preview your website, you can “Knit” with the Knit button, located on the top of your .Rmd document.
Make your Website Live!
Up until now, your website has only existed in R Studio, it is not live online yet. Once you are happy with your website, you can push the changes up to github, and within a few minutes your website will be live for the world to see!
If you haven’t used github much before, it would be useful to familiarize yourself with how github works, and a few of the useful commands. Here is a useful tutorial!
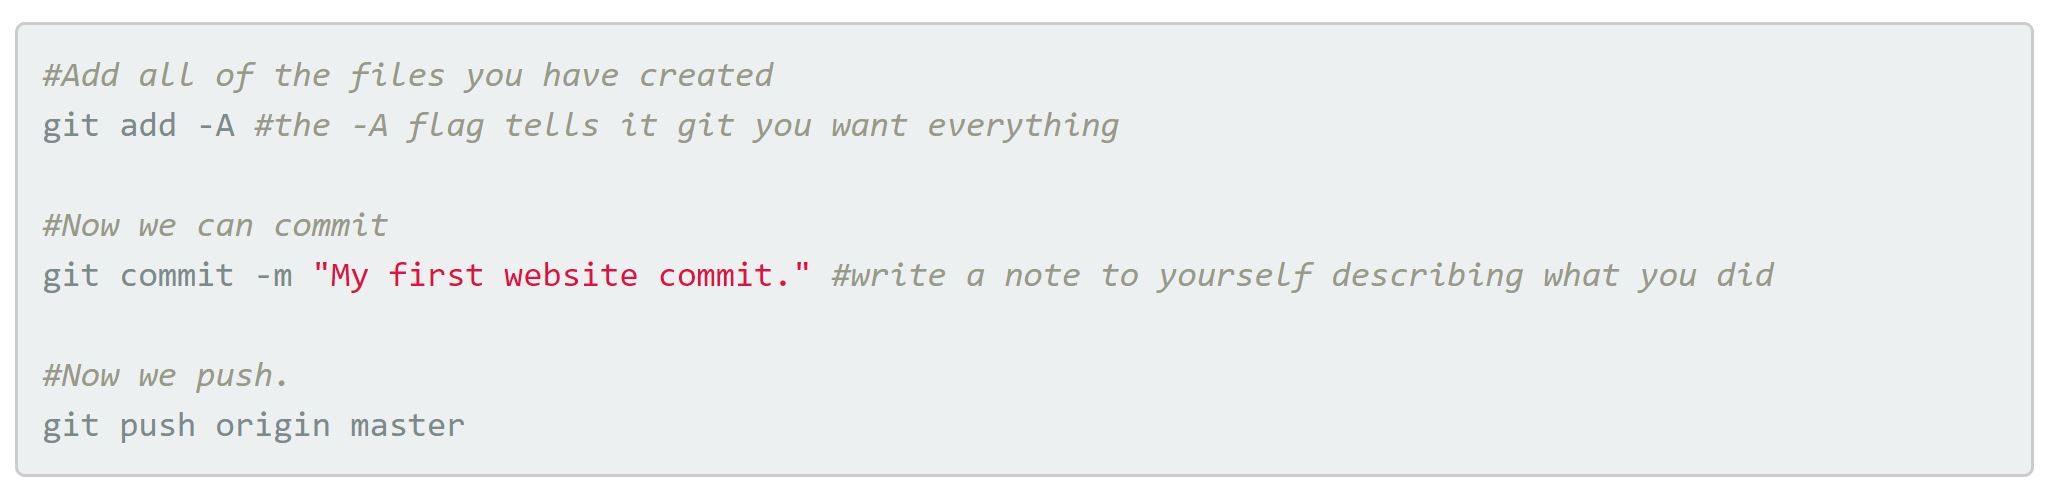
Basically, you are going to use the “Git” tab (or the Terminal in RStudio) to first “commit” any changes, and then “push” those changes up to your Github project. If successful, you should be able to go to your website’s address, and check out your brand new website!
For example, Harry’s website would be located at harrypotter.github.io (it’s not really there though, I just created it for this tutorial)
Here is how we would do this in the Terminal:
Other Resources
To customize your website there are a ton of useful tips and tricks in Rmarkdown. I think the best way to learn how to customized the look and feel of your site it to check out other sites and look at their code (most github sites will have a link to their code included)! That’s where I have learned most of my website building skills.
Here are some useful links I have come across:
- Rmarkdown Cheatsheet
- RStudio’s Intro to Markdown Websites
- An example site I created This was created for a 2018 Society for Conservation Biology Conference
My personal website (where you are right now) is a bit more complicated as it was created using a Jekyll template. If you want to get really fancy, this is the template for you! It will take a bit of work to figure out, but it’s very similar to an R markdown website. Here is a good place to start.